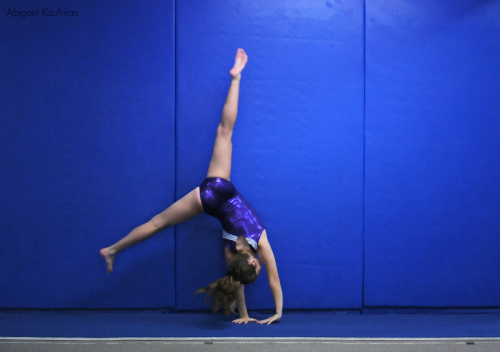
Side handstand dismounts
So today I wanted to talk a little bit about level 3 dismounts – where to start them, when etc. Like with most things I’m a big fan of progressions and helping gymnasts feel confident while going through the skill. This for me usually means starting on the floor with a line and an 8″ mat.

This is a good example of where I would start. This helps gymnasts learn to put their hands and feet on the same line and start learning to kick up to handstand without the pressure of being on a beam. Once your confident that their arms are strong and they can hold themselves up, you can actually place that floor beam against the orange mats and have them kick up to side handstand (against the orange mats) – and then forward roll from handstand. That ensures they are building muscle memory of going ALL THE WAY to handstand – and also that they are aware of where handstand is before you put it on the beam. It’s an easy way to stop having to stay “that’s not handstand” so much.
This is, in general my next progression. Specifically the handstand flat back. The reason for this is building confidence, and helping gymnasts find a straight, held handstand before turning. If you start having them turn right away, a lot of the time they’ll rush and not hit a true handstand.
Finally when they’ve got the nice, held handstand you can start separating the second half of the skill into two parts – 1) the turn and 2) the fall. By separating them it helps ensure that the gymnasts are going to maintain their body tension because if they aren’t tight – they’ll fall doing this drill.
